Photographing Concerts with a Leica Rangefinder
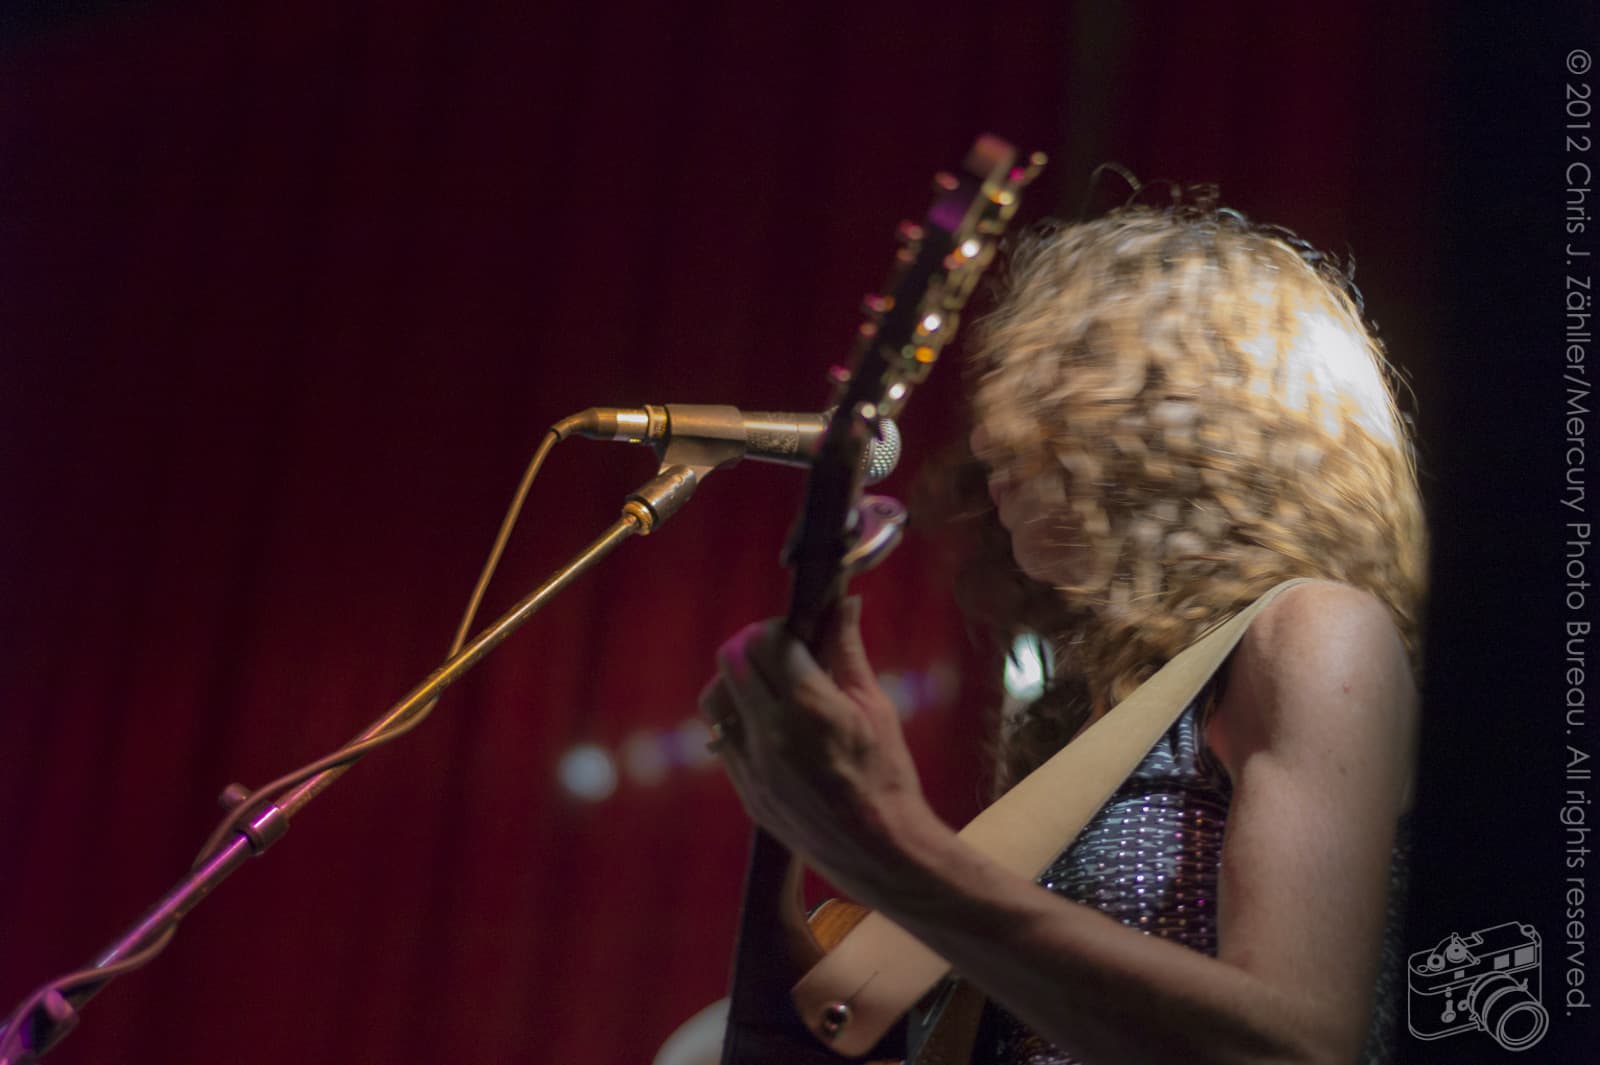
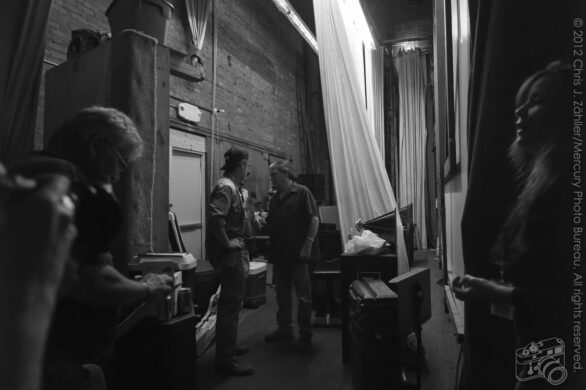
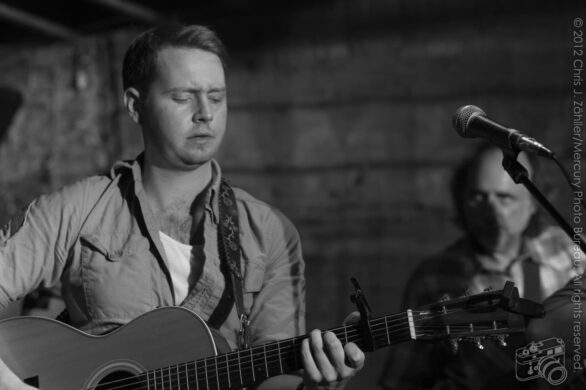
I do a fair amount of concert photography with the Leica M9-P digital rangefinder camera. [Sidenote: Since this article posted, I’ve switched to the Fuji XT-1 for performance, action, and low-light digital photography. I also use a Rolleiflex 2.8c, a Hasslblad 503CX, and a Leica MP Classic, coupled with a powerful Sunpak 622 Pro strobe for some concert photography.] This presents certain challenges not affecting the typical DSLRshooter.
Lens
Chiefly, there’s the limitation on focal length. Although M-mount lenses are made up to 135mm in size, the longest practical length is 90mm. That’s because above that length, the image inside the viewfinder brightlines is so small that it’s very difficult to focus accurately.

In larger venues where it’s hard to get close to the stage, I prefer a Leica Tele-Elmarit-M 90mm lens. It’s small, fast, and sharp, and cheaper to buy used than the current 90mm lens in Leica’s lineup. On a Leica M3, with its high viewfinder magnification, it’s even better.
If I can get closer, I might use anything from a 21mm to a 50mm lens; it depends on the size of the stage and my distance from it. If I know I’m not going to be reproducing the images at a very large size, I might even use the 50mm at some considerable distance and crop the images in post, since it’s a much faster lens than the 90mm.
Light
Then there’s the matter of lighting: to use flash, or not to use flash. Since many very fast lenses are available for the Leica, I don’t use flash — since I can’t always get right up to the stage, this works out for the best, anyway. No sense in illuminating the backs of the crowd’s heads instead of your subject, and many venues prohibit flash photography anyway.
Since most stage lights are tungsten, even with colored gels, I either set my white balance (WB) to 3200° Kelvin, or, if I can get close enough to the stage, I set it manually with a WhiBal card. [Sidenote: Since this article posted, most venues have updated their lights to LEDs. Therefore, it’s better to set the WB to between 5000º – 5600ºK.] Even though I often process concert photos in black and white, this saves a step in Adobe Lightroom.

Exposure & ISO
I set the shutter speed to “aperture priority” and open the lens to its fastest setting. Using the TTL meter, I aim for a part of the scene that is neither too bright nor too dark and “lock” exposure by depressing the shutter release to the first stop. [Sidenote: My current practice is to change to exposure priority mode after I’ve determined the correct exposure, so long as the lighting is consistent.] If there’s room, I use a tripod to steady the shot, compose, and shoot. I’ll “chimp” on the first shot to check the exposure; if it’s okay, I stop previewing and just take pictures (I set previews to “off” in the camera’s settings).
Outdoors during daylight hours, set ISO to 160 and use an ND filter [Sidenote: A neutral density filter reduces or modifies the intensity of all wavelengths (colors) of light equally, giving no hue change, but reducing luminosity.] if necessary. After dark or indoors, bump that to ISO 800 or 1200. Anything above ISO 1200 may produce unacceptable noise. These settings assume a fairly fast lens (ƒ/2.8 and below).
Don’t worry about the shots you don’t get: exposure, composition, focus are all likely “gotchas” that will ruin most of your shots. You’ll probably shoot a lot of pictures, and from those you’ll pick the best ones when it’s over.
Gaining Access
For a position close to the stage or in other restricted areas, you will need credentials. If you are covering the event for a publication or website, they may issue a you a press ID; be aware, however, that many venues require a pass produced and issued by the promoter, venue, or band management. Contact the appropriate person and request credentials: try the musician’s website (look for a “Press” link), or contact the venue itself. You many find the venue has a general “non-flash photos allowed with a camera phone or point-and-shoot in non-restricted areas,” or photography may be prohibited altogether unless they’ve issued you credentials. Find out in advance.
Etiquette
Remember, other people are trying to see the stage. Others are also photographing. Don’t stand at the front chimping; [Sidenote: Chimping is the habit of checking every photo on a camera display immediately after capture. It by was first written about by Robert Deutsch, a USA Today staff photographer, in
Under no circumstances should you distract the performer. Don’t yell, wave your hands, or do anything to get a performer to look your way; they have enough on their minds without you being a jerk.
Be Generous
I usually offer the performer a pick of the best images afterward, with the understanding that I retain full rights to the image, and that they need my permission to use them for commercial purposes, e.g., on a CD cover or a concert poster.
Have Fun
A stage show is an opportunity to enjoy yourself. You’ll take better pictures if you use your ears; scientific fact! [Sidenote: According to Professor Baloney of the Hogwash Institute.] Relax, enjoy the show, and take pictures.